
How to grow Zinnias
Zinnias are hardy and easy to grow and keep you in stunning flowers through the hot summer season.

Growing zinnias from seed is a relatively simple and rewarding gardening project. Zinnias are beautiful, colourful flowers that can attract pollinators and brighten up your garden.
Getting started
Zinnias prefer a protected sunny position with a moist, fertile, well-drained soil, although they can withstand dry periods.
These robust plants can range in size from 25cm up to 1.5m, so are highly suitable as edging plants or tall background floral displays. Propagate from seed in spring. Zinnia seed requires a warm soil to germinate successfully.
Follow our step-by-step guide below for more tips and tricks:
How to grow zinnia from seed
Materials and Tools:
- Zinnia seeds
- Seed starting trays or pots
- Seed starting mix
- Watering can or spray bottle
- Clear plastic propagation lid or plastic wrap
- A sunny windowsill
Step 1: Choose the right zinnia seeds
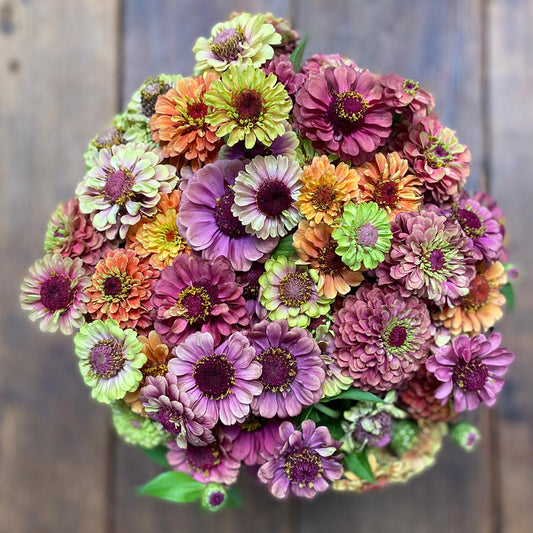
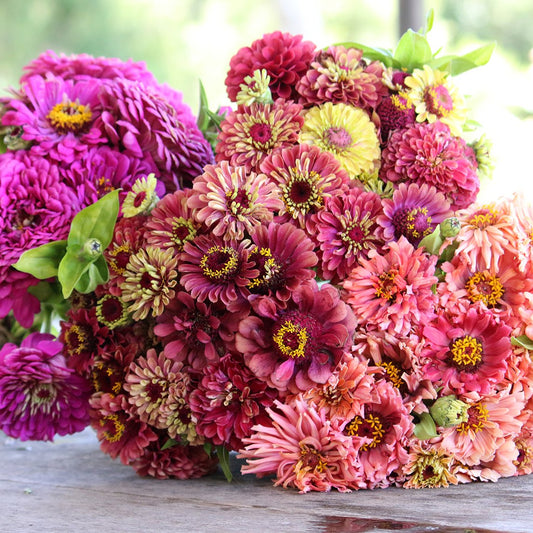
There are many varieties of zinnias, so choose the ones that appeal to you and suit your garden's conditions. Zinnias come in various colours, sizes, and shapes, ranging in size from 25cm tall up to 1.5m!
Step 2: Start in punnets
Even though zinnias can be sown direct, sowing in punnets and transplanting ensures optimal germination and allows gardeners to stagger their sowing and their display. Early sowings should be down in punnets, while later sowings can be done directly into a well prepared soil.
Step 3: Prepare the seed trays or pots
Successful seed germination relies largely on warmth, water and the quality of your seed raising mix. Use clean seed starting trays or pots with drainage holes to prevent waterlogging.
Step 4: Sow the seeds
Sow zinnia see around 5mm deep. Place on 6-8 seeds per punnet to avoid overcrowing and root interference. Cover the seeds with a thin layer of the seed starting mix and water lightly.
Step 5: Provide proper light and temperature
Zinnias require full sun to grow, so place the seed trays in a sunny windowsill. Maintain a temperature of around 18-24°C for optimal germination.
Step 6: Maintain moisture
Keep the seed mix consistently moist but not waterlogged. Use a watering can or spray bottle to avoid disturbing the seeds. Cover the trays with plastic wrap or a clear plastic dome to maintain humidity. Propagation units are ideal.
Step 7: Germination
Zinnia seeds typically germinate within 7-10 days. Once they sprout, remove the protective dome or lid.
Step 8: Transplant seedlings
When the seedlings have developed at least two sets of true leaves, they are ready to be transplanted. Harden off the seedlings by gradually exposing them to outdoor conditions for a week or so before transplanting into the garden.
Step 9: Choose a sunny location
Find a spot that receives at position in the garden with least 6-8 hours of direct sunlight per day. The soil should be enriched with compost and free-draining prior to planting.
Step 10: Plant seedlings
Dig holes in your garden that are the same depth as the seedling pots and spaced according to the zinnia variety's requirements. Carefully remove the seedlings from their containers, place them in the holes, and backfill with soil.
Step 11: Water
Water the transplanted seedlings thoroughly after planting, and continue to keep the soil consistently moist. An application of seaweed or worm solution at this time will help to settle new plant into the garden and reduce transplant shock.
Regularly water your zinnias, but avoid overhead watering to prevent fungal issues.
Step 12: Mulch and protect from pests
Apply a layer of organic mulch to help retain moisture and suppress weeds around your zinnias. Also protect from snails and slugs with an application of organic snail pellets of use beer traps.
Step 13: Deadhead and enjoy
As your zinnias flower, deadhead (remove spent flowers) to encourage more further flowering.
Follow these easy steps to ensure you enjoy the vibrant colour of your homegrown zinnias throughout the growing season.
Featured Products
Member
$10.71
Retail
$17.85