

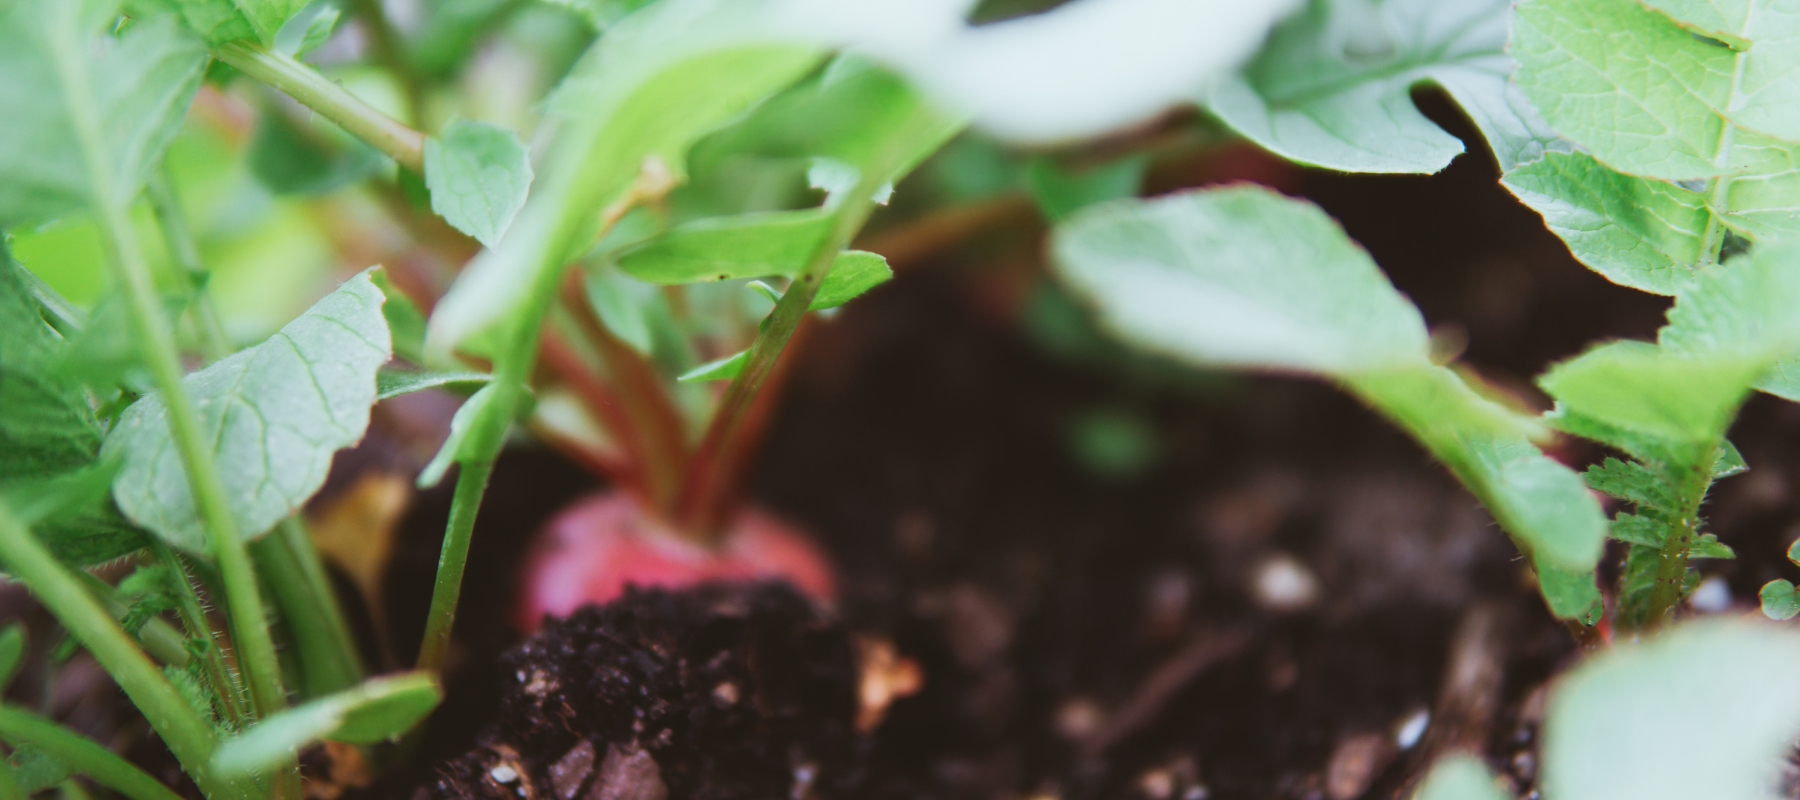
As the main growing season draws to a close, much of the biological activity retreats under the surface of the soil for the cooler months, reinvigorating the soil and building up fertility for the following spring. Soil life, organic matter and nutrients are drawn down into the soil, turning fallen leaves and debris from the summer’s growth into rich humus.
Making black gold
Tidying up our spent summer crops provides an abundance of material for the compost heap. The success of our gardens depends on a good supply of compost, made in autumn and left over winter to decompose.
There are many different approaches to making good compost and sometimes advice on the topic can leave the gardener baffled and believing the process is beyond their capability. Complicated formulas, ratios and lists of ingredients turn the art of compost making into a dogmatic scientific process, which even the most experienced gardeners can find hard to follow.
In fact, constructing a successful compost, whether in a free-standing heap or a compost bin, is very easy and forgiving, provided you have patience and follow a few simple guidelines. All seasoned gardeners know that good homemade compost is the ‘black gold’ of the garden.
When constructing our compost heaps at The Garden of St Erth, we include any organic material we can find. From fallen leaves to vegetable scraps, manure, weeds and crop residues, whatever we have available goes into the compost heap. Provided there is a diverse range of different material, it will decompose into beautiful compost eventually.
While some consideration needs to be given to ensuring there is a mix of green (nitrogenous) material and brown (carboniferous) ingredients, there is a lot of leeway here and most mixed garden waste will have a sufficient mix for composting. A small amount of garden soil or, better still, old compost added throughout the heap, will help moderate its decomposition and inoculate it with healthy microbes and bacteria.
Perhaps most importantly we ensure that each layer of the compost is watered and that the heap remains evenly moist. Our compost is covered with a thick layer of straw to protect it from the elements. It is ready to use when the original ingredients in the compost are no longer recognisable. If all has gone well it should smell earthy and sweet and be teeming with worms.
Winter crops and green manures
While the soil can be a little depleted after a summer crop of vegetables, there is often enough fertility left in the soil to plant a lighter-feeding crop like garlic, carrots or (when time permits) sowing a selection of winter greens like pak choy, spinach or brassicas.
In our cold St Erth climate, planting early varieties of garlic in mid autumn allows us to harvest it the following November, so it doesn’t take up precious space in early summer. Importantly, winter crops must be sown by the end of March here to put on good growth before the cold weather sets in.
In garden beds that are not being used over winter, sowing a green manure crop is a useful way of recycling unused nutrients and adding organic matter to the soil. Crops like oats, vetch, mustards and clovers can send their roots down well over a metre into the soil, adding structure, carbon and drawing life from depths we would not be able to cultivate manually. A mixture of cereals, legumes and tap-rooted mustards mimic nature’s natural grassland and pasture ecosystems. Each different species accumulates a different rangeof nutrients from the subsoil, with legumes fixing nitrogen from the air as well.
Soil amendments like rockdust, lime and organic fertilisers can be applied directly to green manure crops, increasing growth and making nutrients available to subsequent crops once the green manure has been incorporated into the soil and decomposed.
In order to get the most out of our green manure crops, we leave them until they are just beginning to flower, then dig them in, usually in late winter. At this point legumes will have fixed nitrogen into the soil and the green manure will provide maximum bulk organic matter to the soil.
Incorporating the green manure is made much easier by chopping it up first, either with garden shears, a whipper snipper or mower. Once slashed, we can then lightly turn over the soil with a garden fork, burying as much material as possible and avoiding doing too much damage to the beautiful soil structure the green manure has created.
Within 4–6 weeks the green manure has decomposed, leaving a fertile soil that is teeming with life and ready for spring and summer planting.
- Slash large green manure crops with a whipper snipper before turning in the foliage.
- Once your green manure has been slashed, it’s time to ‘dig it in’.
- Composting is easy and forgiving, provided patience and a few simple guidelines are followed.
- Good homemade compost is, as all seasoned gardeners know, the ‘black gold’ of the garden.
